Installation Guide: Mounting Your Surfboard Safely and Securely
Installing your surfboard wall mount properly ensures your board stays secure while creating a beautiful focal point in your space. Our mounts are designed for straightforward installation, and with the right approach, you'll have a professional-looking display in under 30 minutes.
Follow this step-by-step guide for a perfect installation every time.
What You'll Need
Before you begin, gather your tools:
- Drill with appropriate drill bits
- Spirit level
- Pencil for marking
- Tape measure
- Stud finder (for drywall installations)
- The mounting hardware included with your mount
- Wall anchors (if not mounting into studs)
All our surfboard mounts come with complete mounting hardware, so you won't need to buy anything extra.
Step 1: Choose the Perfect Location

Select a wall location that showcases your surfboard while keeping it safe from high-traffic areas. Consider:
- Visibility: Choose a spot where the board becomes a focal point
- Clearance: Ensure at least 30cm of space on all sides
- Wall strength: Ideally, mount into wall studs for maximum support, especially for heavier longboards
- Lighting: Avoid direct sunlight to prevent UV damage to your board
Need inspiration? Check out our creative display ideas.
Step 2: Find Your Studs (For Drywall)
Use a stud finder to locate wall studs. Mark the stud centres with a pencil. Mounting into studs provides the strongest, most secure installation - essential for longboards and heavier boards.
If studs aren't in the right position, use heavy-duty wall anchors rated for at least 15kg each.
Step 3: Mark Your Mounting Points

Hold your mount against the wall at the desired height. Use a spirit level to ensure it's perfectly horizontal (or vertical for longboard mounts).
Mark the drilling points with a pencil through the mounting holes. Double-check your measurements before drilling - measure twice, drill once!
Pro tip: For horizontal mounts, position the mount so the surfboard will be at eye level (approximately 150-160cm from the floor to the centre of the board).
Step 4: Drill Pilot Holes
Drill pilot holes at your marked points. The drill bit size should be slightly smaller than your screws.
- Into studs: Drill 5-6cm deep
- Into drywall with anchors: Drill the size specified on your wall anchor packaging, then insert anchors
- Into brick or concrete: Use a masonry bit and appropriate wall plugs
Step 5: Secure the Mount

Align your mount with the pilot holes and secure it with the provided screws. Tighten firmly, but don't overtighten - you want the mount secure without stripping the holes.
Use your level one more time to confirm everything is straight before fully tightening.
Step 6: Mount Your Surfboard
Carefully place your surfboard onto the mount. Our mounts are designed with gentle contact points that cradle your board without causing pressure marks or damage.
Step back and admire your work! Your surfboard is now a stunning piece of wall art.
Safety Tips
- Always mount into studs when possible, especially for boards over 7 feet
- Test the mount's stability before placing your board
- Periodically check that screws remain tight (every 6 months)
- If you're unsure about your wall type, consult a professional
Learn more about why quality mounts are essential for protecting your investment.
Ready to Get Started?
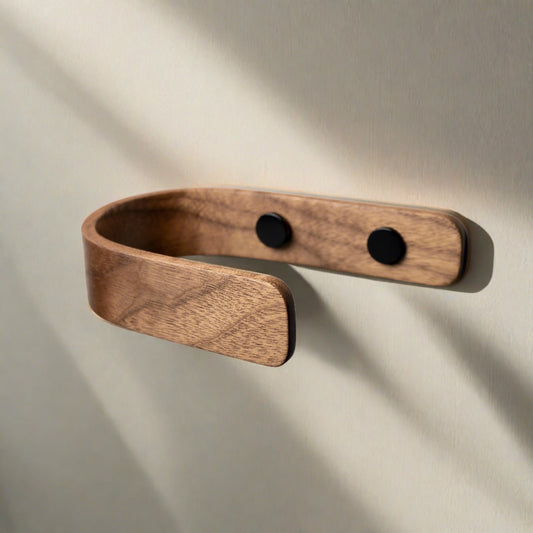
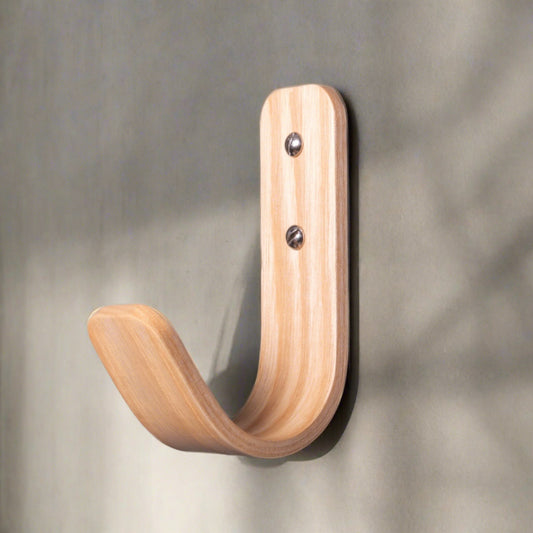
All our surfboard wall mounts are handcrafted in the UK and include complete mounting hardware. Choose from oak, walnut, or black oak finishes to match your interior.